Many webmasters use Photoshop to edit stock images or create their own image content for their websites. I’ve talked about how to speed up your website in the past, and one of the ways of doing so is to optimize your images. This brings us to how to SEO images in Photoshop.
How to SEO Images in Photoshop
There are a few ways of how to SEO images in Photoshop.
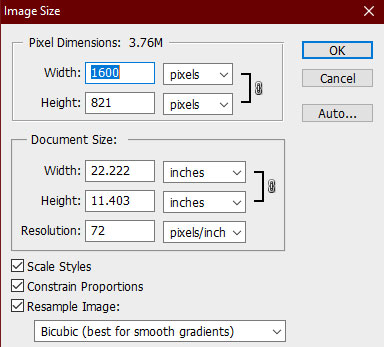
Image Size – First, reducing the image size is generally a good idea when importing unnecessarily larger images to your website.

Most images don’t need to be larger than a few hundred pixels in width and height. The only images where size actually matters is infographics which you’ve created yourself or linked to from another site.
Try to choose the image size that you’ll actually use on your website.
If you export the image size too big, then you’ll have to shrink it down on your website which is a needless waste of extra data for a larger image than you need.
If you export the image size too small, then you’ll have to expand it when you upload it to your site which will blur the image needlessly.
As long as you get the image size roughly to how it will actually look at your site, this is an effective way of how to SEO images in Photoshop.
Just make sure you tick “constrain” proportions when you do this so the height and width stay the same relative to each other.
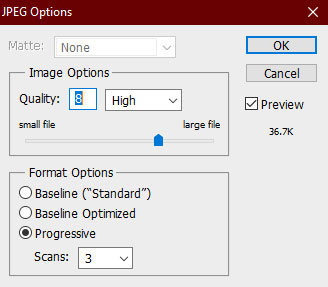
Image Quality – When you go to “Save As”, depending on the file type, you can change the image quality.

Here you can control a slider which will alter the image to different quality degrees between 1 (the most) and 12 (the least compression) and both show you in real time the file size as well as the effect the compression has on the image.
As long as the image doesn’t look visibly deteriorated, the lower the quality you can get away with the better.
The caveat is that, generally, “high” quality at image level “8” is a healthy medium where the image looks good and any further compression won’t be worth the data you’ll save.
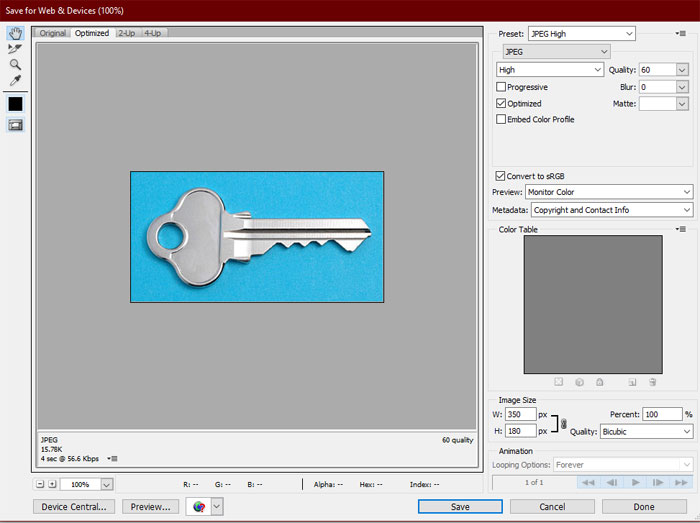
Save for Web & Devices – The more efficient way for how to SEO images in Photoshop upon exporting is to instead choose the “Save for Web & Devices” option.

This option uses compression to shrink the file size without affecting the quality of the image as much, making it ideal for web based images rather than those you’d print out where file size is no longer an issue.
In this option, you can get file sizes which are 33% or smaller than a normal export without sacrificing the visible quality of the image. This option was made for environments where file size needs to be kept smaller, so be sure to export your images using these settings when they’re intended for your website.
